
This is what I used.....


Going into the kitchen from the dining room

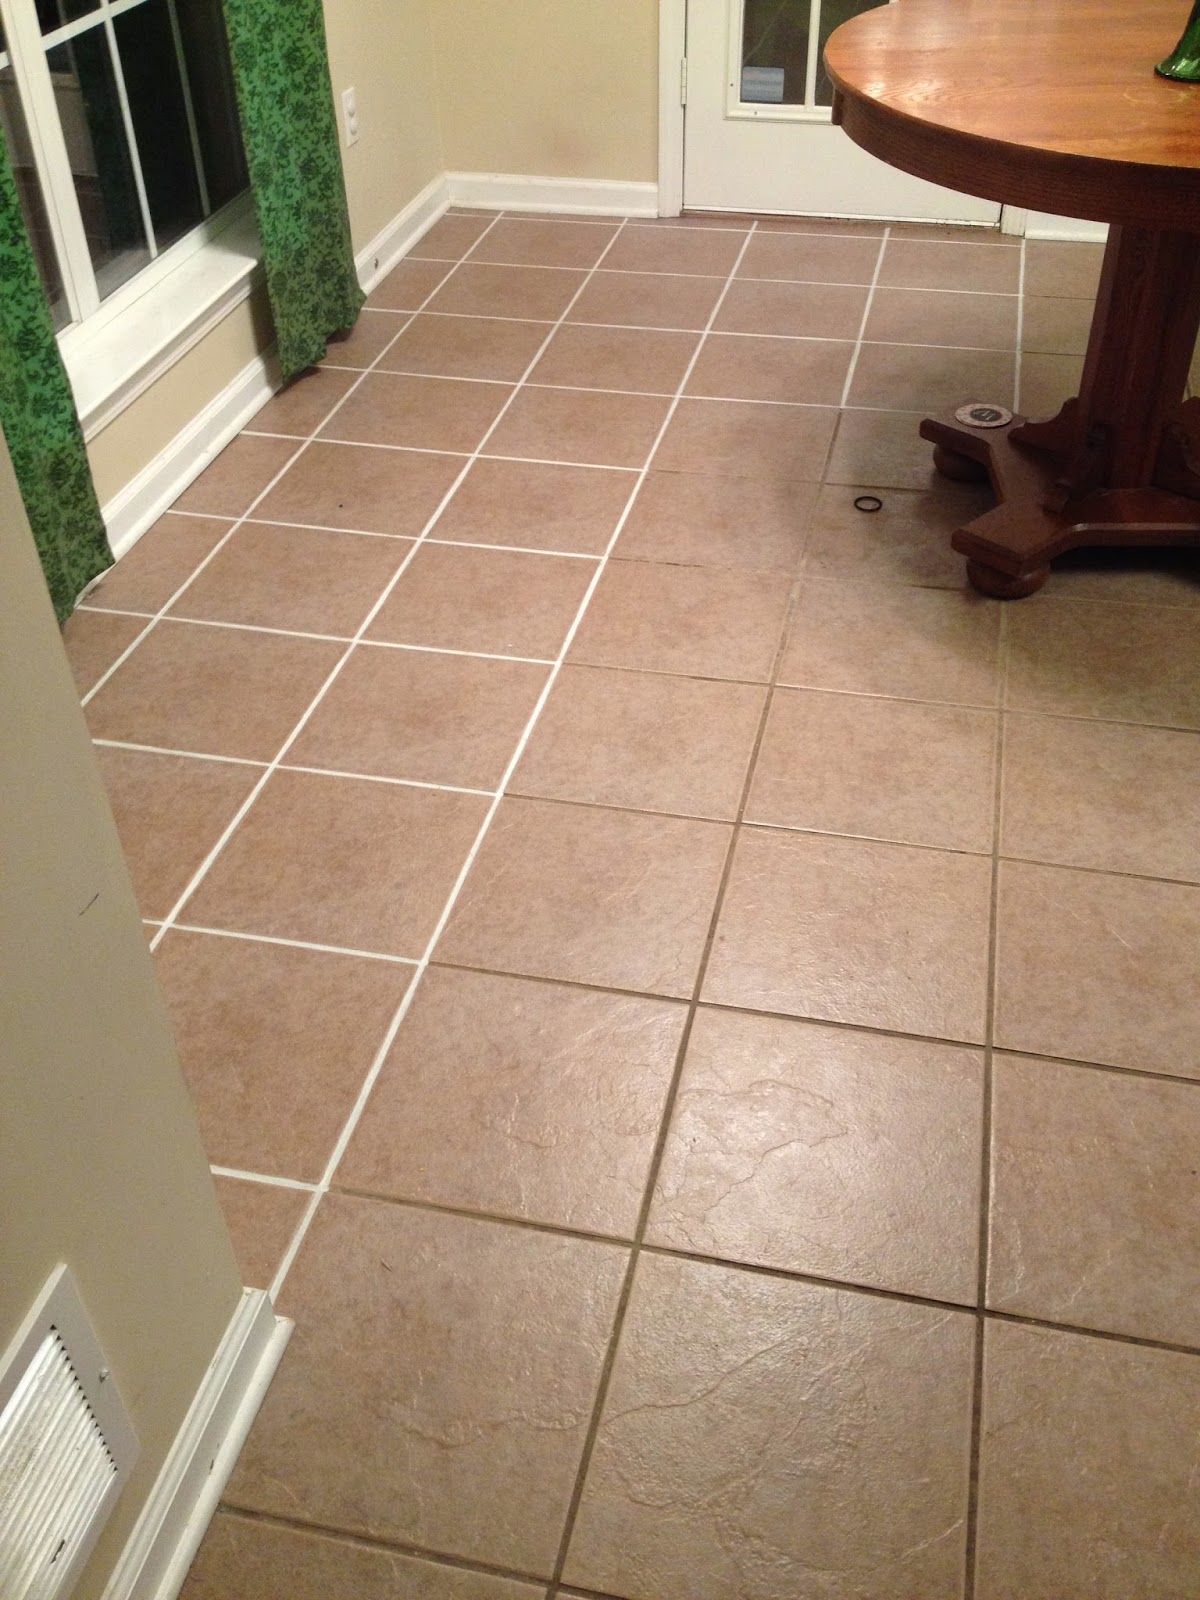
Going into the kitchen from the living room


I started one night, and trust me... THIS IS A LLLLOOOONNNNGGGG process! It took me 2 hours just to do the parts in the pictures below....


After I finished those small parts I kept putting off doing the rest of the kitchen...I'm talking 3-4 months. Oops.
I was tired of hearing Chad ask if I was ever going to finish the grout! Plus, we couldn't have Reeves' birthday party here with half the grout painted!!
I would like to say... as I write this... THE KITCHEN IS DONE!! WOOHOO! It took about 4 hours but it was totally worth it!!!!
Here are some pictures.... the paint was still drying so the table and chairs were still moved around...


Ready for a tutorial????
First I vacuumed the floor. I didn't mop because I didn't want the floor or grout to be wet. I'm going to have to mop in a few days so I didn't want to do it twice. Get my drift?!
I made a video, I'll try and post it in Part 2!
For now, bare with my pictures!! :)
I used a small craft brush. The bottle says to use a small toothbrush, I tried that in the foyer in front of the front door and it took forever! I'm use to using the craft brush so it just seemed easier!
Before.... Isn't the grout nasty???

I got quite a bit of paint on the brush and painted in one direction. Try not to go back and forth, you'll see brush strokes. I didn't worry about getting paint on the tile... I'll show you how to clean up later. I figured out I could paint 2 sides of the tile then clean up without the paint drying. The paint dries pretty quick!!


I used an old kitchen towel to clean up the tile! I went through 3 towels! I rinsed out each towel twice before getting a new one. I noticed the paint didn't "wash" out as easy after the second time.

I just followed, with my finger, the line where the grout and tile met. Sometimes my towel would smudge some of the paint... I would just carefully fix it with my brush.
Is every line of grout perfect? Absolutely not. There is no way I could get the paint perfect on every line of grout! When you're sitting on the floor staring at it, you can see imperfections! But, I thought about it like this... how often do people stare at your grout??? Even if they come in a know it looks different (um. clean?) they'll be standing. I decided it wasn't worth the trouble to make it perfect!

I can't get over how amazing it looks...

After I finished the kitchen, I noticed most of the tiles looks like they have a "film" on them. I'm guessing I didn't clean as well as I thought when I was cleaning around the grout! Oops.
I have to wait 72 hours before I can get the grout wet, so I'll mop then!

In part 2, I'm going to work on the hall, half bath and laundry room. Since the grout I just painted is bright white, I'm going to redo the front foyer, I'll show you that too. I'm also going to do the clean up. Stay tuned!!!!


No comments:
Post a Comment