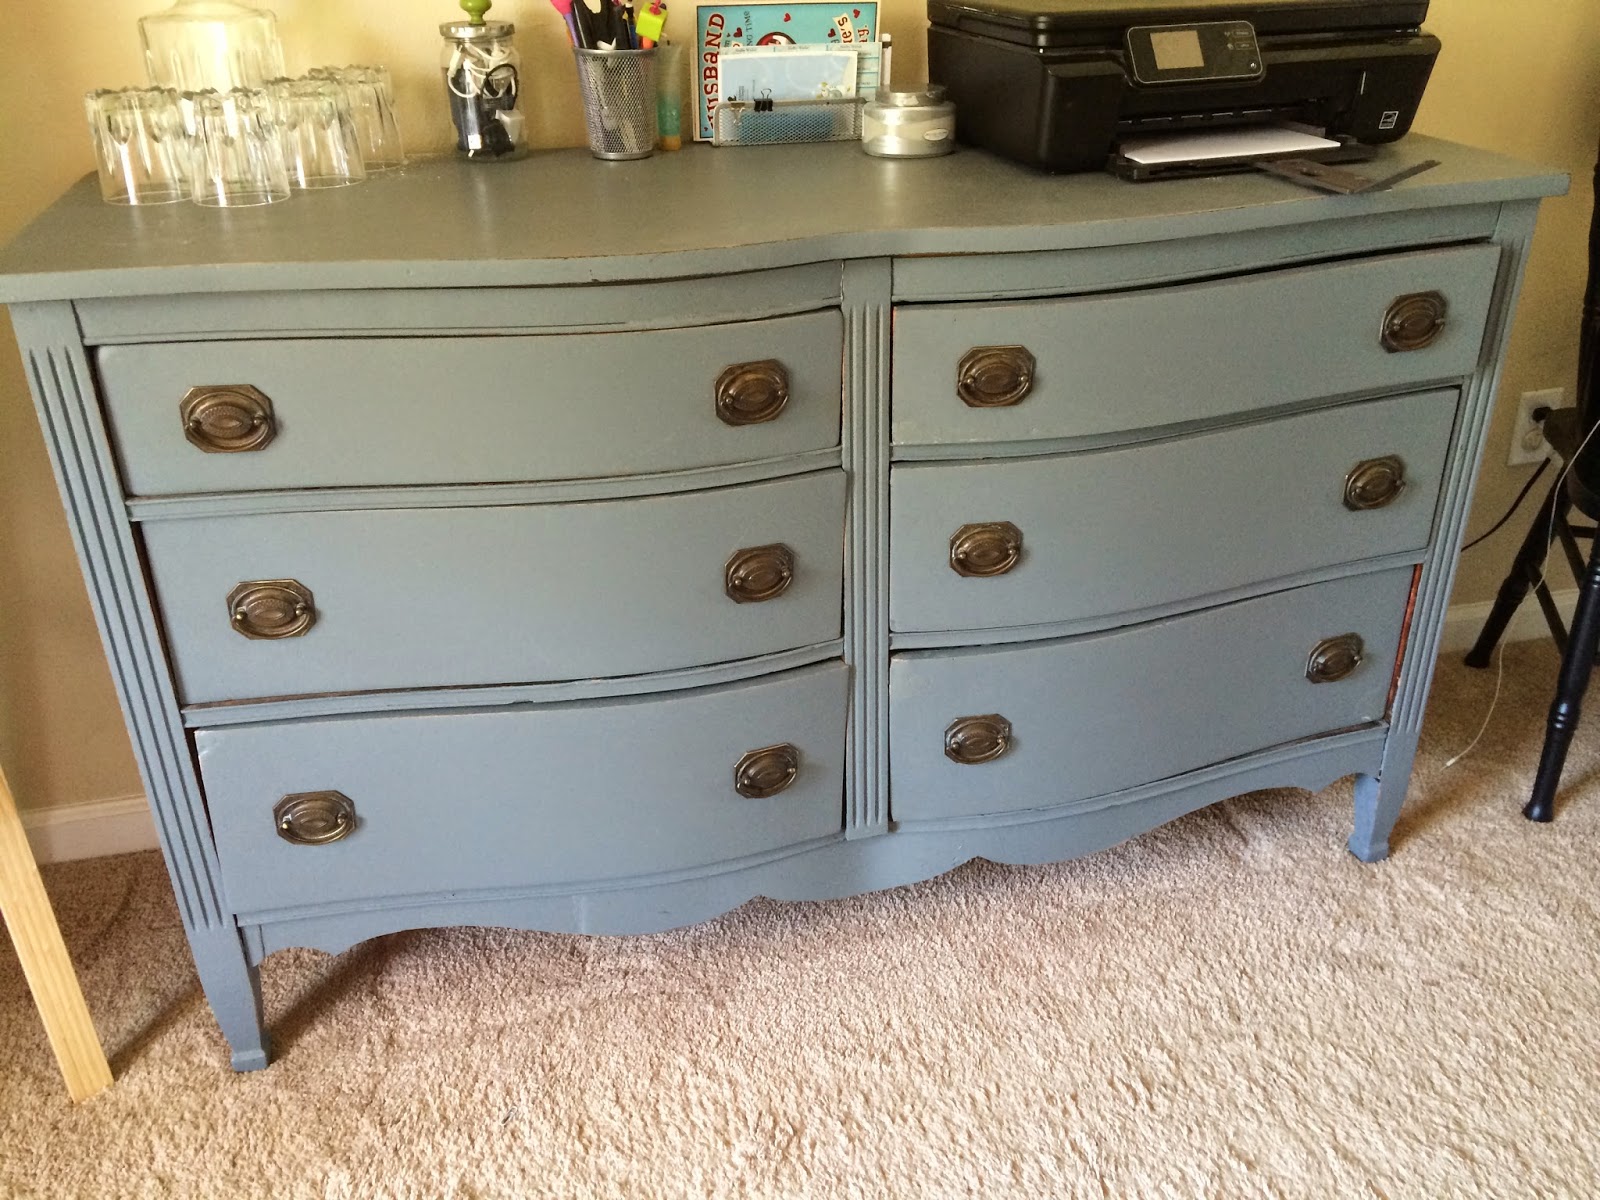
In case you don't remember what it looked like, here it is....
BEFORE...
Would you believe this is the only picture I can find? Try to picture this in your head.. The table is in the middle (like you see) with a black & white table runner that matches the inside of the red hutch. The red hutch (pictured below) to the right and a grey buffet (pictured below) on the left. There was no room in here!
And here is the AFTER:
I love it! I can see Reeves doing his homework here while I cook dinner! hehe
I'm selling the red hutch. It's my first piece of furniture that I painted that I'm selling! It was a big deal at the Wicker's! I sold it for $125! I was pretty impressed with myself.
Anyway, with the hutch gone, I plan to bring Reeves' table and chairs down from the playroom and put them infront of the window.
I'm in love... can you tell?
Since moving everything in the office, Reeves and I have been in here drawing everyday. I needed somewhere to put Reeves' crayons (other than an ugly ziplog bag). Plus I had tacks & paperclips Reeves kept trying to play with that needed to find a home with a top!
Guess where I went, PINTEREST! Don't you just love pinterest??? I really don't know what I did before I knew about that site!!!
I found this....
by Eighteen25
I just thought how cute would this be in the office with all my odds and ends?!
Here's what I did....
I already had some jars that I had saved. I was just playing around to see what would fit in each one. They were all perfect except the one with the paperclips & tacks, it was just too big. I went to the fridge to see what kind of jars I had in there that I could "borrow".
I found the perfect size in this can of jalapeños.
Maybe you saw it on our Facebook page. We played a game of guess what I'm going to do with this!
I painted all the lids with Valspar's Urban Sunrise with a paint brush. This didn't work out well. The paint just peeled off when it was dry.
I decided to peel the paint off and spray paint them.
This is what I used. I used the clear on both the lids & the knobs.
I recycled some old knobs that we took down in our kitchen for this project.
I used an old diaper box and poked the knobs with the screw attached down inside, that way I could stray them without them falling over.
Aren't they a perfect color of green? They look like little mushrooms to me!
Chad drilled holes in the center for me to attach the knobs. The screws were way too long so I couldn't get them tight on the lid, but since you won't actually use the knobs, I just used the hot glue gun.
It worked like a charm.
I love the final product!!! It was so easy and FREE!
What have you crafted today? Tell us about it on here or our Facebook page!!
Have an awesome Sunday!


No comments:
Post a Comment